

Yogayama Teacher Training – Yoga for Beginners
The most common misunderstandings as a beginner in yoga are that, “It’s too hard,” “It’s too easy,” “I’m not flexible enough,” and “I’m restless, and I can’t sit still.”
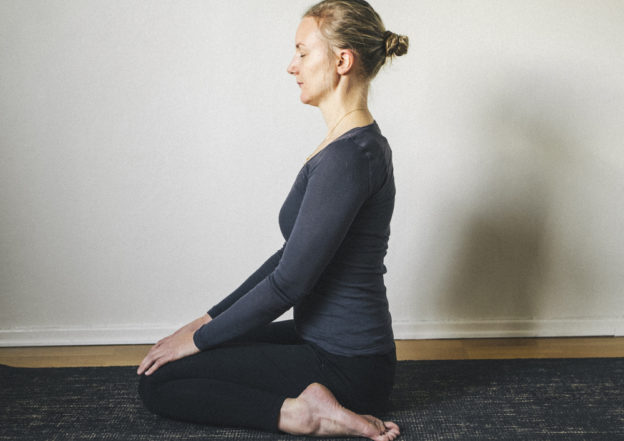
Being a beginner
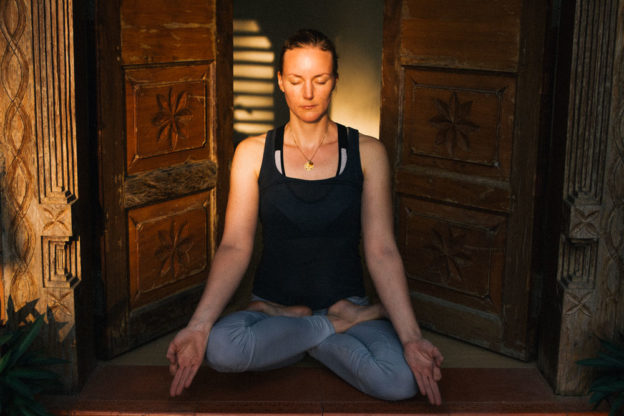
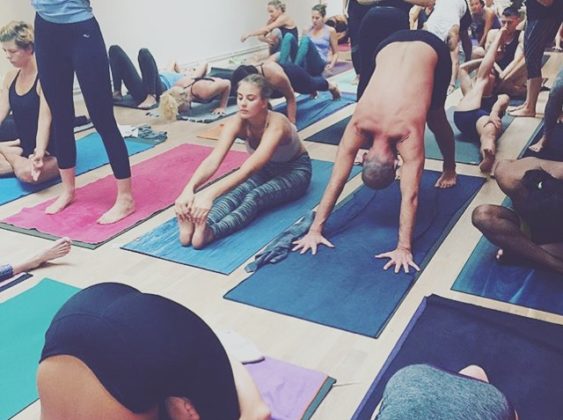
Being a beginner is one of the best times as a student on the path of yoga. When we are a beginner, we often experience ourselves in a way that we have never sensed before. Life may feel more vibrant, more alive. It can also happen that, as a beginner, we feel the opposite. Our body may hurt, our mind may be scattered, or our emotions may overwhelm us.
It is important to remember that each time you step onto your yoga mat, you are a beginner. Always treat your yoga practice as if it is your first time practicing, even if you have been practicing for a long time. This may be challenging: We tend to compare ourselves with what we did yesterday or what we want to do tomorrow.
The beauty of yoga, however, is that there is only the here and now. When you step onto your mat, ask yourself:
- Where am I today?
- What do I need to practice to extend my comfort zone but without indulging my ego?
- How is my breath?
- How does my body feel?
- In which direction is my mind running?
Notice and observe where you are in that moment, and from that place do your yoga practice.
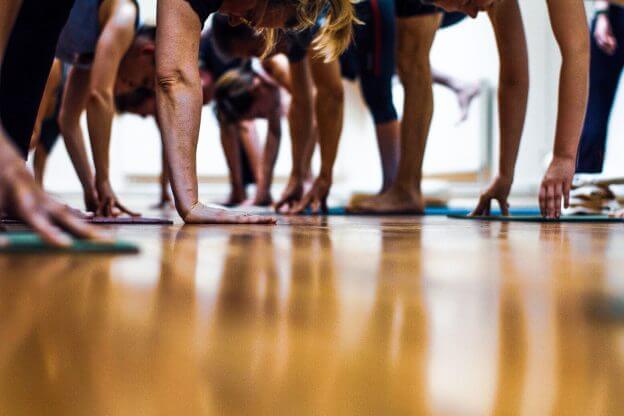
TEACHING BEGINNERS
To become a great teacher, you need to teach at least one beginner class a week. However, as a new teacher it’s better to start teaching at level 1-2. A beginner class is often the most challenging and fun to teach.
Why?
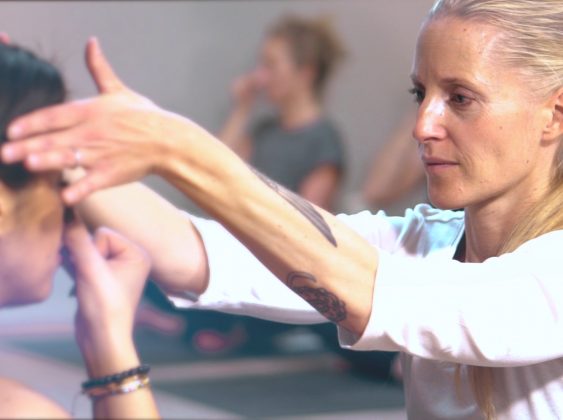
Beginners do what you say! This means that, as the teacher, you have to be very mindful of your words, skillful in explaining asanas in many different ways, and understand different bodies.
Use of words
How well you give instructions and how you set up your students before you go into poses will be revealed in your beginner classes.
Often teachers say, “They are not doing what I’m telling them to do…” Well that means that you didn’t do a good job of explaining how to do the pose and didn’t pre-align them before you went into the pose.
Teaching a beginner is no different than teaching an experienced student, but what you see how skillful you are at using words and giving clear instructions.
Writing teaching scripts is the fastest and easiest way to become a skillful asana teacher. In a beginner class they really listen and do what you say, because they don’t know the poses. Saying ‘Downward Facing Dog’ means nothing to them.
To become skillful at giving instructions, repeat instructions and train yourself to say the same thing in many different ways. Different students understand differently, and it’s important to reach all students with your words. To do this, you may have to use your words in a variety of ways.
Too many instructions will confuse beginning students, so keep your instructions simple. Start with the foundation and give a ‘brush stroke’ of the pose. See that they understand the first instruction before you go to the next.
Give students space and time
We use instructions and alignments to keep students safe and bring focus to their body and their breath, not to perform perfect asanas. In the beginning just knowing right and left can be tricky when students are in an asana, so give them time. Use your instructions to help them be present and focused and leave their fluctuations of the mind so they can start to rest within themselves.
What makes an individual a beginner?
In many ways, beginners are no different than experienced students. You can have beginners that find it easy to focus and have the strength to practice asana, just as you can have experienced students that have very little awareness of themselves.
With any student you can determine their state of understanding and practice through:
- Their awareness of their body. How they hold their body, how they know when to stop or go deeper.
- Their awareness of their breath. How they keep a soft, even and smooth breath throughout the entire practice. The greatness does not lay in the asana. Rather, it exists in how you help them practice with the breath and an understanding of their mind.
- Their perception of their self. How students see themselves.
- Their internal battles. “I’m not good enough, or I’m better than…” Students who get upset that they cannot not master a pose.
- The way their mind works (stable, unstable and so on).
The level of a student does not indicate how flexible he/she is. The awareness a student carries in his/her body, mind, breath and how he/she practices all aspects of yoga on the mat is what will reveal a student’s level.
Mental focus
An unstable and restless mind is one of the greatest challenges in one’s practice, especially for beginners.
In the Upanishads, it says, “Taming the mind is like taming a tiger. If you do it to fast it will kill you.”
The thing with the mind is that you can’t control it. If you can’t control it, then you are still stuck in the mind. Right…?
You need to ask or make suggestions to the mind or watch the mind without judging what comes out of it. That is why the Yoga Sutraprovides different steps, starting with Yamas and Niyamas. Otherwise, you would harm yourself through your practice. Asana and pranayama are used to direct your awareness to the body and the breath, which will eventually make you more present and slow down your thought patterns. It is not about shutting out your thoughts or trying not to think—when you do that, you are still thinking.
When the mind is ready, it will be quiet. Teach students that whatever is going on within themselves is okay and doesn’t need to be changed. This is very important. As a teacher, you help them slowly remove the veil that is clouding them. They will start to become more focused and develop the ability to see past the mind and see that everything the mind is saying is not true.
When thoughts come, don’t push them away and don’t engage in them. You let them be and slowly bring the focus back to the body and the breath.
Dhyana/Meditation
Meditation is a state of mind not a practice. Meditation occurs when the mind becomes free from its own judgements, dualities and reflections of the outer world. Meditation, or the meditative state, has a stillness and a fullness that can’t be described. It needs to be experienced.
Challenges we often meet as a beginner is the perception of one’s body and breath.
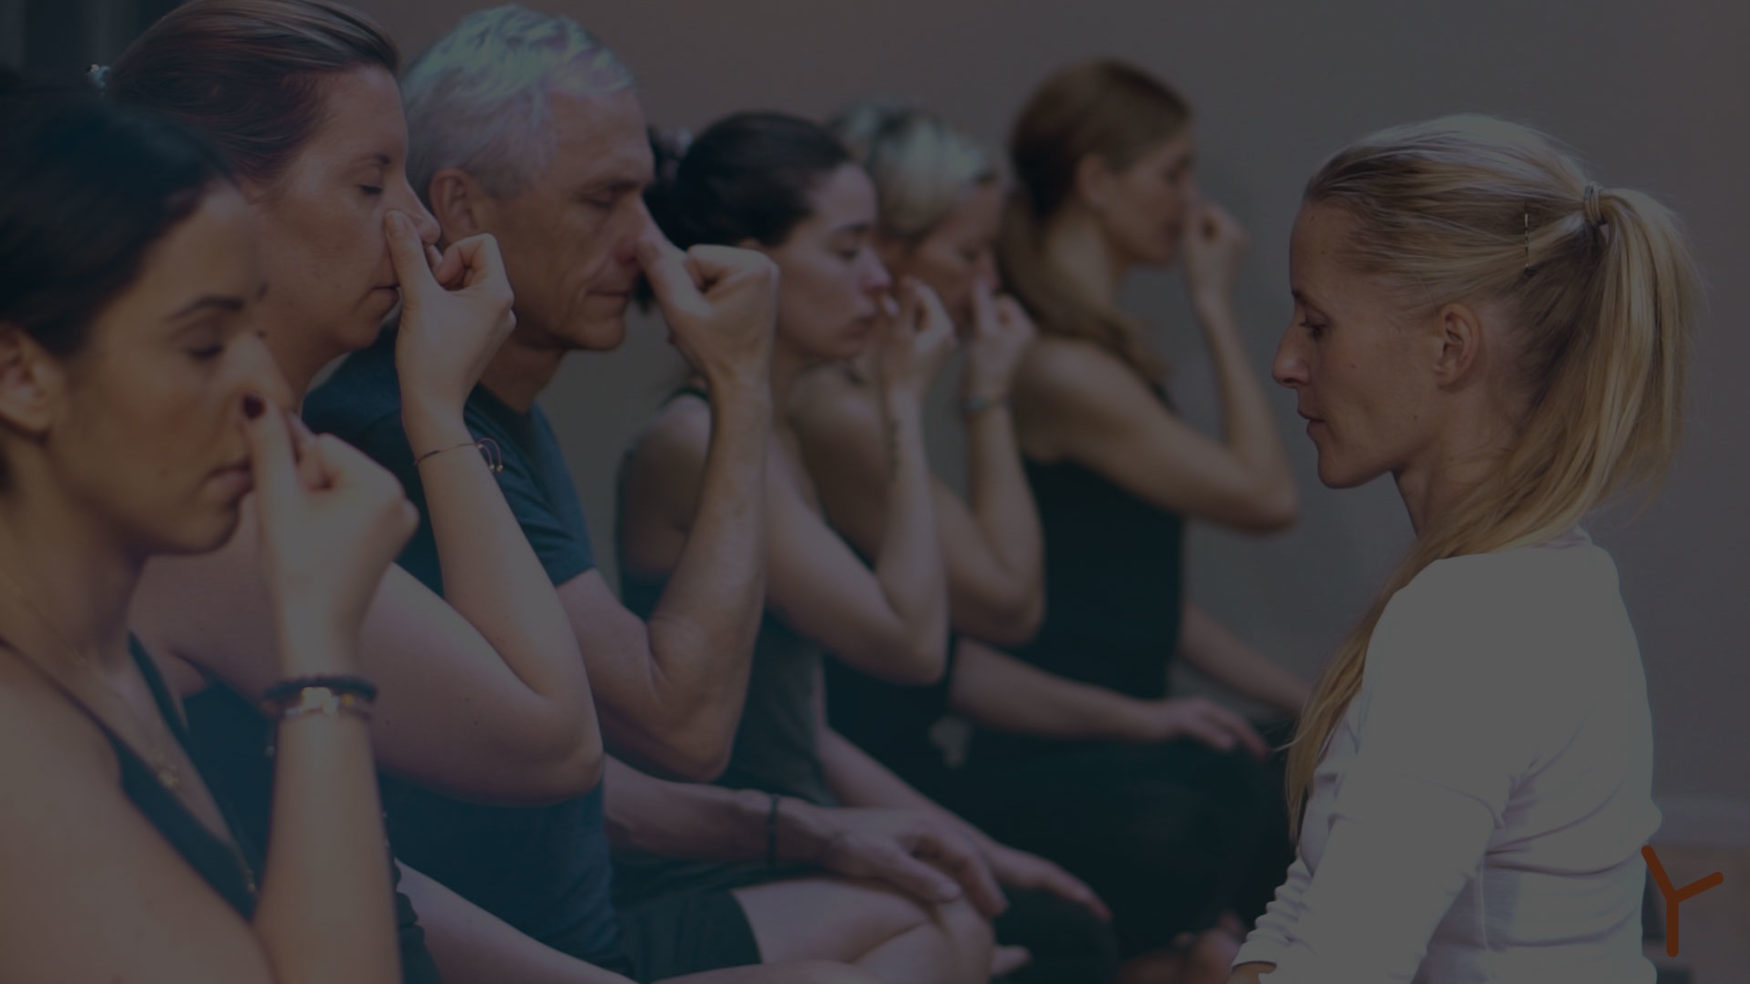
Breath
Breath is a very important aspect of the yoga asana practice, and the poses are secondary. The breath is also the hardest practice to master for a beginner. Often when we teach a movement and guide the breath the students may have already taken 3 breaths. That is why it is very important to teach the breath in the beginning of class, as well as in the end. Help them to prepare the breath for the asana practice in the beginning, and you use that during class to remind them of the soft, smooth breath they practiced in the beginning of class. It is also important as a teacher to be able to guide the students where the breath is as they are moving. To give directions for where there is an inhale, where there is an exhale and so on. This can make a huge difference to how the students feel in a transition from one pose to another, or in the sun salutations.
For beginners, you want to teach them to stay present in the breath, to follow the breath, and then to softly lengthen the breath. Remember: It is important that the students don’t tense their body as they start to deepen their breath so that the nervous system can relax. If a student forces the breath, he/she is stressing the body and reversing the relaxing effect of the body rather than calming and nourishing it.
Physical
What is the most important thing for an asana teacher? To keep students safe!
There is not that much mentioned in the Yoga Sutraabout asana, but they do say something very important: Sthira, Sukham, Asanam.
Sthira – steady, uplifted
Sukham– comfortable or with a sense of ease
Asanam– to sit or posture
How can we find ease and steadiness in each pose?
- Understand what beginner poses are
- Develop the way you teach and give instructions
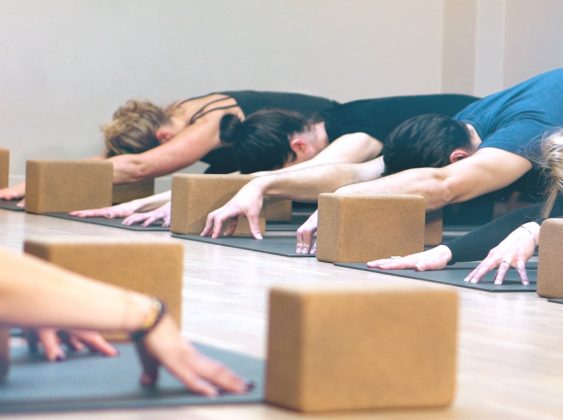
- Use of props
Level and poses
What defines a level one pose? The range of motion needed to be able to do a pose is what defines the level of a pose. Poses need to be practiced without harming the body and the breath.
The foundation is most important part of an asana practice. Without the foundation and an intelligent way to practice, you will eventually stand still and keep practicing according to old patterns. This is why it is vital to always be a beginner and take the entire scope of yoga onto your mat: to ground yourself in your foundation at the current moment and practice from where you are in that moment
Yoga poses for a beginner
Surya Namaskara break down
- Bidalasana Cat/Cow
- Puppy dog
- Plank
Standing postures
- Tadasana
- Vksasana (maybe by wall)
- Uttitha trikonasana (blocks)
- Virabhadrasana A
- Virabhadrasana B
- Uttitha Parsvakonasana
- Prasarita padottanasana A, C (with props)
- Parsvottanasana (with blocks or on the wall)
- Utkatasana
- Prasarita twist (Hatha Yoga Twisted Trikonasana) with blocks
Backbending postures
- Bhudjangasana
- Shalabasana variations
- Purvottanasana variation (Table Top)
- Setu bandha sarvangasana
Seated and forward bending postures
Use blankets to sit on if students can’t lift up through their lower back.
- Sukhasana
- Virasana on blankes, bolsters or blocks
- Dandasana
- Janu sisrasana (on blankets with straps – mostly sitting upright, support the knee)
- Baddha konasana
- Navasana, knees bent
- Supta padangustasana with strap
Twisting postures
- Jathara Parivartanasana (Laying Twist)
- Marichyasana, foot across the opposite leg
Inverted postures
- Adho mukha svanasana
- Viparita karani (with or without blankest)
- Setu bandha sarvangasana
Supine postures
- Apanasana
- Eka pada apanasana
- Thread the Needle
Restorative
- Supta baddha konasana
- Savasana
In a beginner’s class you don’t teach a full sun salutation–it is too advanced. You teach poses so you can ensure that the student has/develops length in the spine.
Different bodies
We are all different. As a yoga teacher you must know and remember this. The ancient yoga texts says that there are as many asanas as people. This means that each asana will look different when practiced by each human body.
How do you keep students safe?
- Bring their awareness to their body
- Bring their awareness to their breath
- Start with softly warming up the body
- In standing poses, start with external rotated and bended knee poses as Virabhadrasana B.
- Don’t link different poses too much. Repeat the same pose instead.
- Don’t stay too long in poses. Repeat the same pose instead.
Slowing down
Savasana is not an easy pose, and it is especially important to remember this for the lower levels. Many people have a difficult time just closing their eyes and letting go of tension.
Use more restorative poses to slow down as,
– Supta Baddha Konasana, on bolster with strap, blocks and blankets
– Laying Twist, with support for the knees and under the straight arms shoulder
End as you began
Bring them back to the awareness of their body and their breath. It is important to bring back the softness of the breath, as they may have had a difficult time breathing throughout the class. Help them use the practice on the mat for the life they live off it.
Help students stay awake in Savasana. Savasana is the first step towards meditation and it is here that they reap the benefits of the practice.
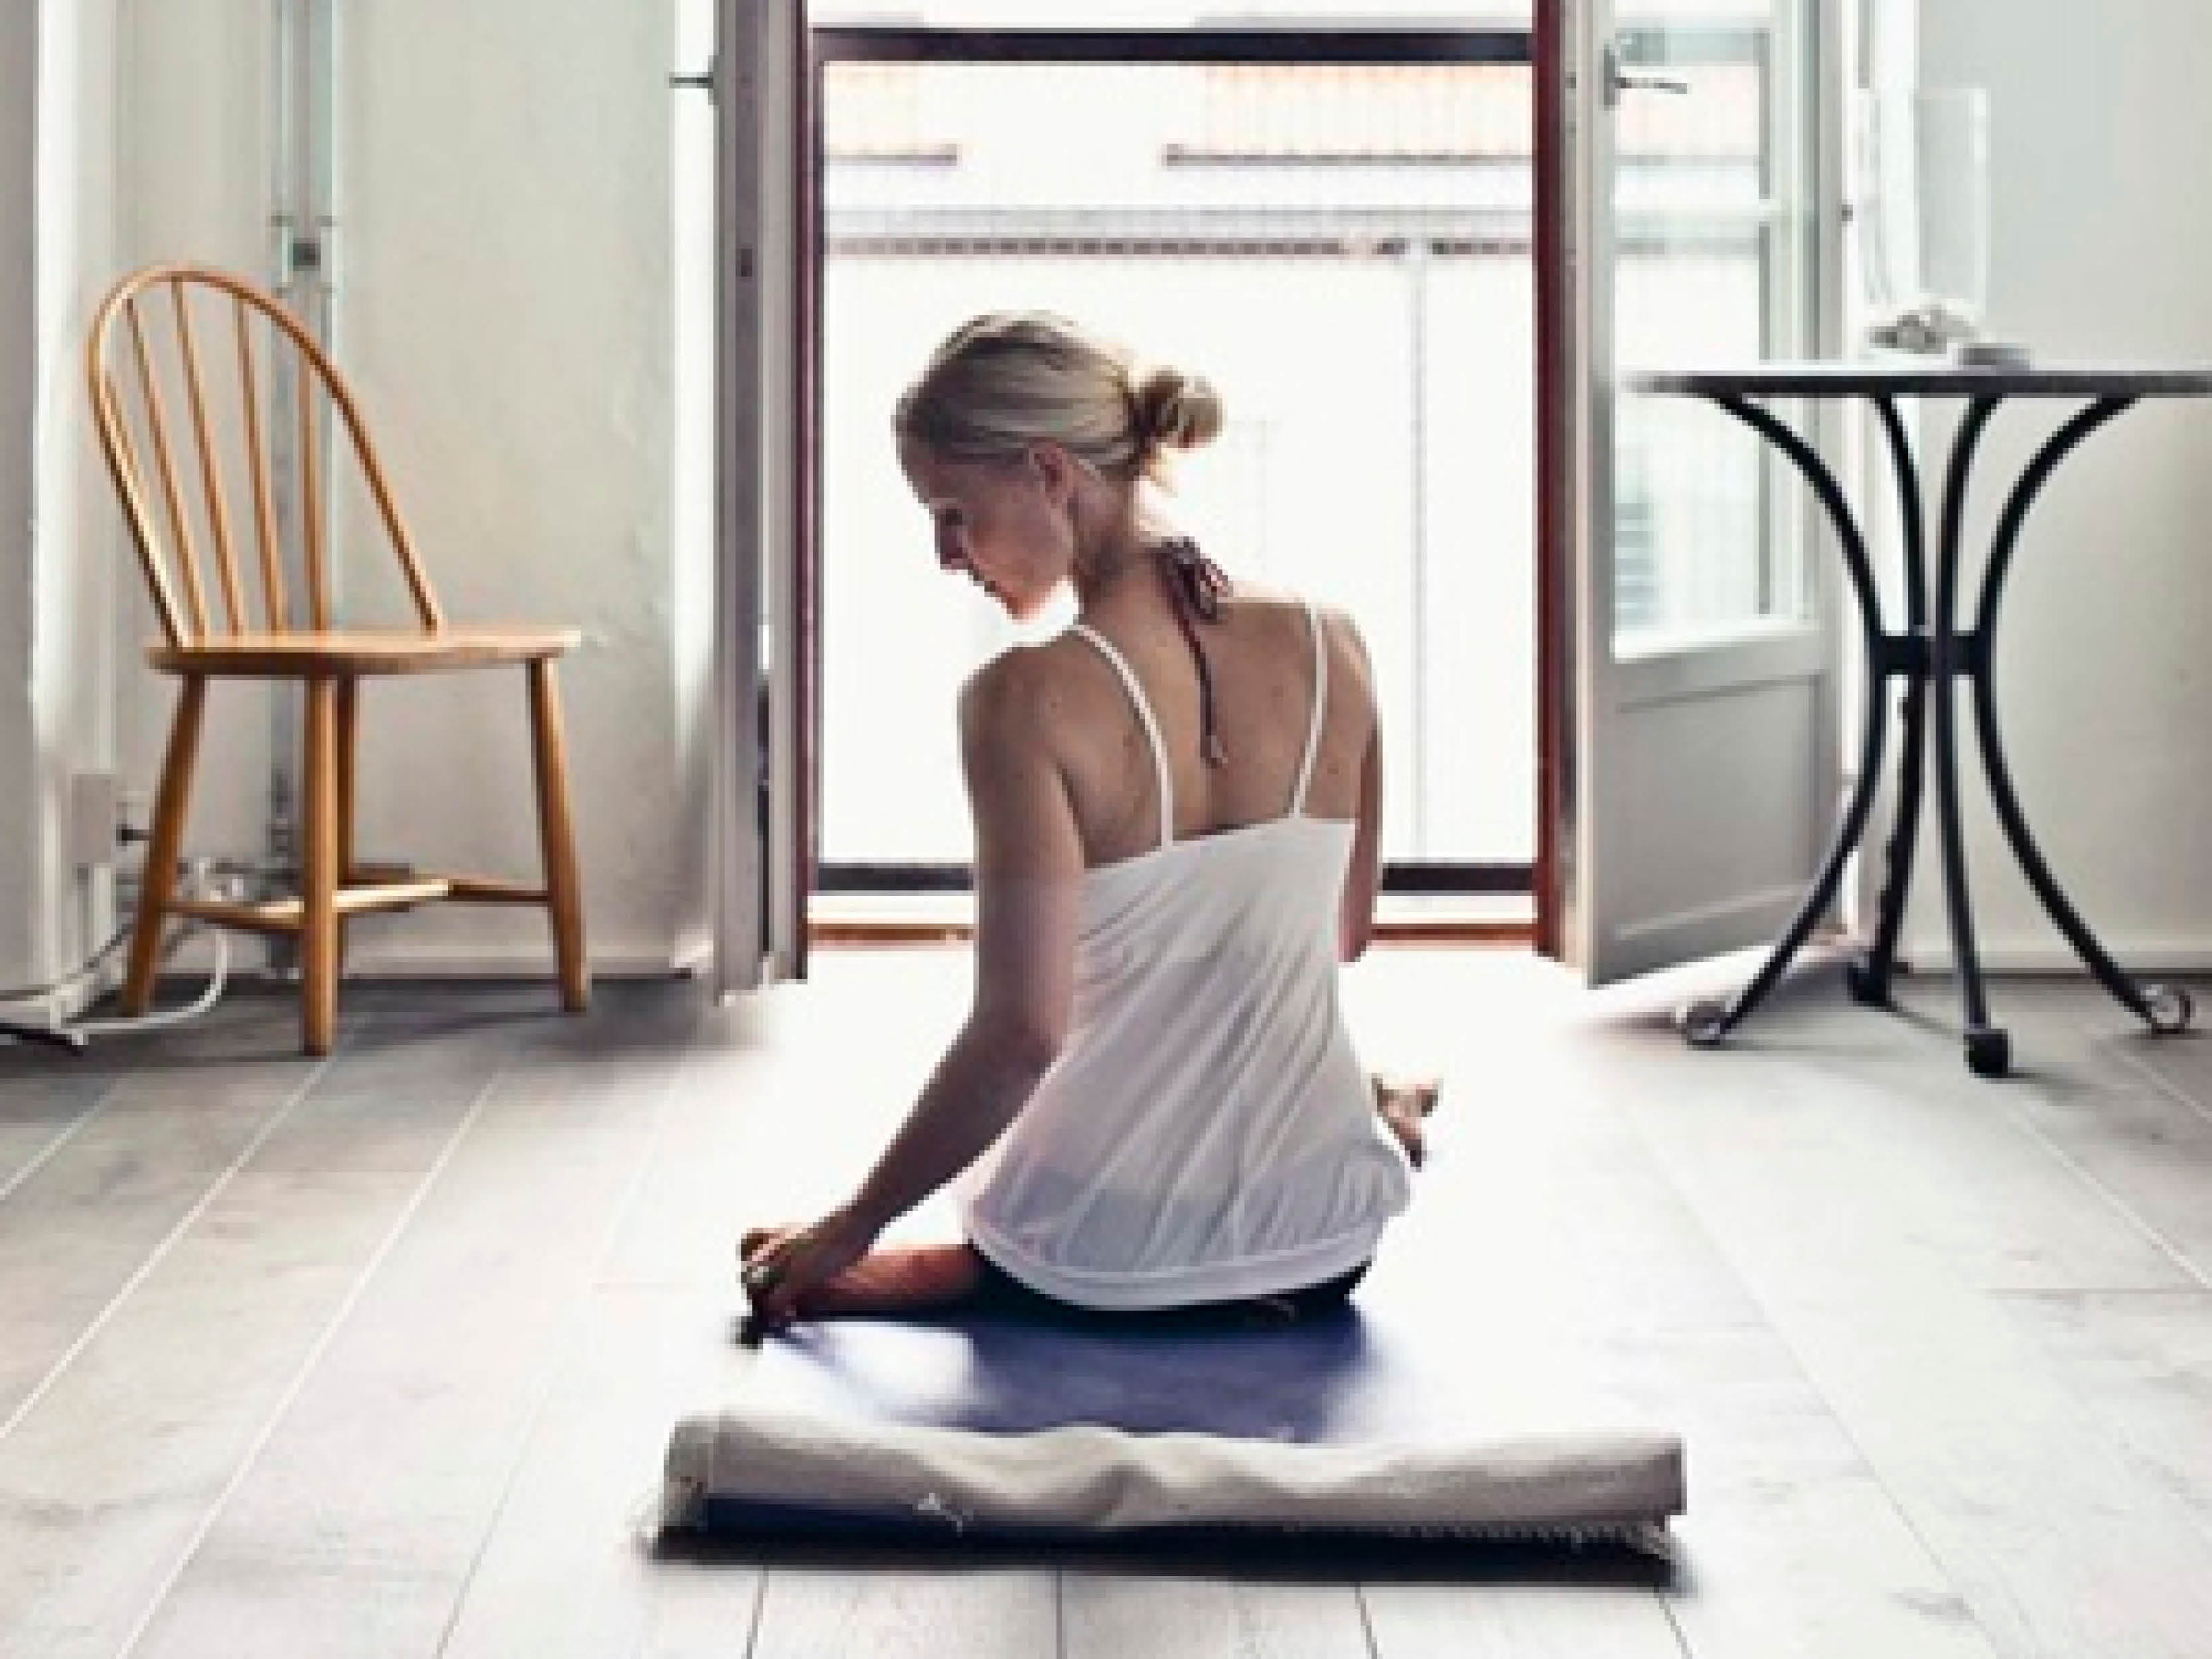
Being a wise student
Being a wise student is when you step onto your mat from a present state of mind. It does not matter what you are or were able to do yesterday, or your aim for tomorrow is. Every practice will be your first, and you will always be a beginner.
Yogayama Teacher Training – Yoga for Injuries
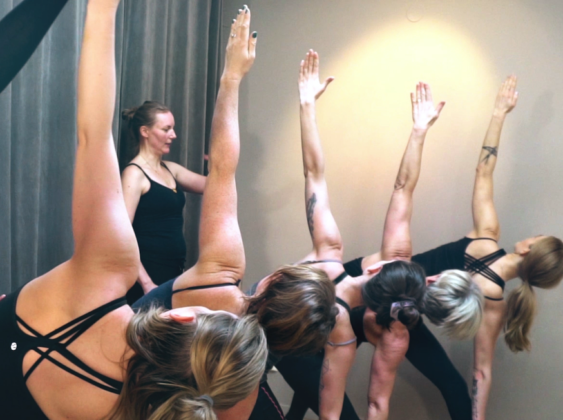
Unfortunately, a lot of injuries occur in the yoga world today. Often due to uneducated teachers, students tend to think that being able to do advanced asana equals being a “good” yoga practitioner or teacher. Yoga has become an industry, and we regularly see advances poses in pictures and think that is how we should look or practice. We teach too many advanced poses and classes that are too fast for students. We also take the same hurried and fast-paced mindset we have in our daily life onto our mat, which makes us push ourselves instead of listening to our own needs at that specific time.
In order to keep students safe, yoga teachers need to teach individuals in a class. They need to teach students how to stop at their end point—the point at which they have reached their full range of motion. This is done by giving clear instructions so students can clearly understand and can guide themselves based on the words of the teacher. And when that happens, the student understands what needs to happen in which part of his/her body, and when to stop and when to go further. Using props and intelligent sequences are also essential in order to protect the areas at risk.
Each pose has component parts and a risk factor, something that tends to go wrong in that pose. To keep students safe, you need to know the risk of each pose and what tends to wrong and well as the component parts. This will also help you build safe and efficient sequences.
Many students come to yoga to heal injuries or imbalances in the body. The first thing you need to do is to confirm that the student has approval from his/her doctor or physician that it is okay to start practicing yoga.
Then ask
- if they have been given any restrictions?
- what kind of injury or imbalance is it?
- how did the injury or imbalance happen?
- is it from something they are doing in their daily life?
How can you help students to heal their injuries through the practice of yoga?
As a new teacher this is challenging. This answer is to for the student to always be a wise student and for the teacher to know your limits. Have a senior teacher that you trust that can support you or direct your injured/recovering student to another teacher you know can help.
If an imbalance is occurring from something the student is doing in their daily life, one hour of yoga once a week will not remove the imbalance. They need to become aware of their patterns so they can change them.
For example, a student might be carrying bags on one side, making their spine become uneven. Bringing awareness to that action and beginning to alternate the sides of the body will take time to develop.
Beginning to perceive these imbalances requires training your eye, understanding different bodies, and from where the asana/pose should work. The body likes to take asanas from where it is easy, which often is the weakest part and which needs to be protected. A common example is the lumbar spine in back bends.
This kind of training of awareness takes years of practice and support from a senior teacher, and the fastest way to train your eye and build this understanding is to assist classes. When you assist, you don’t need to focus on what to say you can just absorb different bodies and see how instructions work for students. You start to see students’ patterns and from which part in the body students take the pose from. You also start to see the origin of the pose and what needs to be supported to keep the body safe.
The tricky part with yoga asanas and injuries is that many occur throughout years of wrongly practicing asanas or putting stress on joints, especially knees and hips. We often hear complaints like, “I started to feel pain in my knee and I don’t know why.” This is often because the student has been doing poses that they think are safe but which are actually putting pressure on the knees.
Injuries in yoga often occur in the transitions, and that is why it is so important to teach pre-alignment before you go into a pose and then stabilize the pose from the foundation as you come out.
When you start the class
You always need to ask your students if they have any previous or present injuries, or if there is something that you should know about them that might affect their practice.
People don’t like to talk about their problems or injuries, so emphasize that this is necessary for their safety. Explain that you need to know so you can help them and ensure they practice safely. You also need to do this in a safe environment.
At the beginning of class, as you bring the students to focus inward with their eyes closed, let them raise a hand if they have something to tell you. You can then individually speak to them.
High-risk parts of the body
Let’s look at some parts of the body that can be at risk in asanas and/or are prone to injuries.
Neck
The neck is a dangerous part of the body to play with and needs to be protected.
General neck issues
- whiplash
- disk disruption
Issues that can be caused by yoga
- same as above
- over-stretched
A few poses that can cause neck issues
- Headstand
- Shoulderstand
- Setu bandha sarvangasana, if you don’t have the lift of the chest or if you turn the neck while you are in the pose
- Purvottanasana, dropping the head if the upper back is not lifted enough and there is not enough strength in the neck
- Ustrasana, dropping the head if the upper back is not lifted enough and there is not enough strength in the neck.
What to think about
This depends on the type of neck injury. Always ask if they have been to a doctor or physician and ask what he/she said. For example, was there a diagnosis, advice or restrictions given?
Poses to avoid
Any pose engaging the neck such as:
- Headstand
- Shoulderstand
- Looking up in different poses such as cobra or cat/cow
- Trikonasana or other standing poses where the neck needs to support the head
What to do?
Yoga can start to heal and strengthen the neck. It’s important to teach the student how to strengthen and develop length equally on both sides of the neck and how to let the neck become an extension of the spine. These skills are first taught in easy poses like Tadasana where you can teach how to lengthen. When you see that they have an understanding on how to lengthen the neck and keep a natural curve in the neck, you then continue to teach lengthening the neck in others poses where the neck supports and holds the head more, such as “all four” or plank pose.
Shoulders
General shoulder issues
- frozen shoulder
- tendon tears
- tendinitis (wearing down a tendon)
Issues that can be caused by yoga
- over-stretched
- incorrect placement of the shoulder in its socket
- instability causes the issues listed above
A few poses that can cause shoulder issues
- Adho mukha svanasana
- Urdhva dhanurasana
- Prasarita padottanasana C adjustment
- Adho mukha vrksasana
- Any pose where you hook and then wrap elbow up like Natarajasana
- Chaturanga
* It is essential to teach students about the correct alignment of the shoulder and how to keep the shoulder correctly in its socket.
Poses to avoid
Any weight-bearing poses, until they have learned to work their shoulders and arms correctly.
What to do?
Start strengthening the shoulder girdle by working the arms without any weight. Correct work of the arms will support and strengthen the shoulders and can be done by lifting in the arms in various ways:
- A good way to strengthen the shoulder is to reach the arms out to the sides at shoulder height and work on the extension through the arms, drawing the shoulder blades down the back, moving them into the body and lifting through the sides of the torso.
- Practicing with blocks between the hands and so that students use their arms properly will support and keep the shoulder safe.
When the students have built up strength in the arms and shoulders, slowly move into some simple weight-bearing poses like all four or puppy dog before you move on to more advanced poses like Adho Mukha Svanasana or plank pose.
Lower back
General lower back issues
- disk disruption
- stiffness in muscles
- soreness
Issues that can be caused by yoga
- over-stretched
- compressed
A few poses that can cause lumbar issues
- Forward fold and back bends
- Uttanasana
- Urdhva dhanurasana
What to think about
Back bends and forward bends can be healing for lower back injuries if they are practiced correctly. Always go for length in the spine.
Poses to avoid
Any intense backbends such as full dhanurasana, urdhva, or deep forward folds as pashimottanasana.
What to do?
First you need to teach to keep length in the spine, how the legs work and supports the lower back, then you teach poses like.
- Shalabasana
- Half bridge
- Legs up the wall
- Restorative backbends
- Suptha padangustasana
Hamstrings
General hamstring issues
- tear
- over-stretched
Issues that can be caused by yoga
- over-stretched
- not warmed up properly
A few poses that can cause hamstring issues
Forward folds
Why?
When the hamstring is not open enough and we force ourselves to bend, we tend to go from the attachment of the muscle rather than the belly of the muscle. This same phenomenon also happens if we don’t teach the work of the legs properly: the lift of the quad and hamstring is essential for a safe forward fold.
Instructions like ‘spread your sitting bones’ may make the students overly tilt their pelvis. A flexible student may dump their sacrum and create compression in the lower back as well as pulling in the attachment of the hamstrings, resulting in soreness and/or injury over time.
What to think about and to do
This area of the body needs to rehabilitate, and this can take a long time– more than a year in some cases. You need to get blood flow to heal a muscle, so use it by including strengthening exercises like Shalabasana one leg at the tim or half dhanurasana, using the hamstrings to do the work of bringing the feet toward the buttock.
Poses to avoid
Deep forward folds or going deep in standing poses.
Groin injuries
General groin issues
- tear
- over-stretched
Issues that can be caused by yoga
- over-stretched
- not warmed up properly
A few poses that can cause groin issues
- Open legs forward folds
- Externally rotated poses
- “Puffing” of the groins
Poses to avoid
Poses that stretch the inner thigh muscles:
- Prasarita Padottanasana
- Uphavista Konasana
- Virabhadrasana B
- Uttitha Parsvakonasana and Trikonasana
What to do?
Teach how to work the legs and keeping a neutral pelvis in poses so students don’t “puff” their groins by tucking the tail under. The groins should always be “soft” and the outer hips and legs should be the supporter so the inner legs can softly work.
“Puffing” the groins
The groins are located on the inside of thigh, on either side of pubic bone. For example, in Virabhadrasana B, it is common to over tuck the tail and press the buttocks in as one tries to align the hip bones. When this happens, they push from behind and the groins “puff” out in the front of the body, and this area becomes tense.
Knees
General knee issues
- meniscus
- ligament disruptor
- over-stretched
- hyperextension
Issues that can be caused by yoga
- all of the above
A few poses that can cause knee issues
Hip opening poses, especially seated poses on the knees, and back bending poses like Dhanurasana which pulls your knee if your hip flexors are not open.
- Pigeon pose
- Lotus
- Urdhva Dhanurasana
- Dhanurasana
- Gomukasana
- Ustrasana
- Virabhadrasana A
The knee is the weakest link on the leg and therefore needs to be protected. The hip and shoulders are ball and socket joint, but the knee moves in one direction.
What to think about and what to do
The best way to open the hips and protect the knee is in externally rotated standing poses. In standing poses your knee is supported by your muscles and you can teach students the rotation of the hip by using muscles in the glutes and outer hips.
Some general tips:
Turn the back foot in a little to protect the back knee in standing poses. Most students can’t open their hips 90 degrees in externally rotated standing poses which means that the hip will slightly turn in and twist the knee if the backfoot is in a 90-degree angle.
Lengthen the student’s psoas before any deep backbends and teach how the shinbones and feet help to protect the knee.´
Strengthen the muscles around the knees and prop students up so the knee is supported in externally rotated seated poses.
Straight legged standing poses
In straight leg poses like Trikonasana the body’s weight is in the front edge/bolster of the foot to protect—not to hang and over-stretch the back of the knee.
Bent knee standing poses
In standing poses with a bent knee, the weight is in the heel to protect the front of the knee and prevent it from moving forward and in front of the heal. Teach students to externally rotate from the hips and where their weight is in standing poses. We all have different structure of our body and how much a person can open the hips is not only about muscles. It is also related to the shape of the femur head and the socket.
Hyperextension
Hyperextension in the knees is very important to take care of. Students with hyperextension have a harder time accessing their thigh muscles as they tend to overstretch the back of the knees. Moving the shinbone forward helps activate the thighs so they can support and protect the knee without overstretching the back of it.
Poses to avoid
Any poses that put pressure on the knee
Elbows
General elbow issues
- Bursitis (joint inflammation)
- Tendinitis
- Tennis elbow
- Sprains and strains
- Hyperextension
Issues that can be caused by yoga
Some of the above
A few poses that can cause elbow issues
One of the weak links of the arm is the elbow, and so it is very important not to teach from the elbow or adjust from the elbow. Poses that can be harmful if you are working from the elbow or have a hyperextension include
- All four
- Downward dog
- Plank
- Arm balancing poses
- Urdhva Dhanurasana
- Chaturanga Dandasana
- Pincha Mayurasana
What to think about and to do
If you place your shoulders correctly in the shoulder socket and reach your arms forward keeping your palms down, you will see how you naturally keep your elbows. When coming into a pose with weight on your hands remember how you had your elbows and keep them like that. If you see them rotate, it is most likely coming from your shoulders or your hands.
People with hyperextension or a large carrying angle will easily hang in their elbows. Teach them how to get access to their upper arms and how the arms help to support the elbow and keep it safe.
Poses to avoid
This depends on the problem and whether or not there is inflammation. Any poses that put pressure, tension or strain on the elbow should be avoided.
Wrists
General wrist issues
- tendinitis
- arthritis
Issues that can be caused by yoga
Wrong placement of the hands and wrong distributions of the weight
A few poses that can cause wrist issues
All weight-bearing poses on the hands like:
- all four
- downward dog
- plank
- arm balancing poses
What to think about and to do
Teach the hands properly. Keep the hands softly spread. Do not to overspread and tense the fingers. See that students have an equal weight on the entire hand, palm and fingers. The wrist follows the forearm bone—it comes as an extension of the forearm—if they have a carrying angle which means some students might have to turn their hands out slightly.
Lift of the forearm
To get weight off the wrist we need to resist the forearm away from the floor and lift up through our forearms. This can be hard in the beginning, so demonstrate this:
Sit down and place the hands on the floor, softly spread your fingers and press into the entire palm. Keep one hand on the floor and use the other hand to start to draw the skin of the forearm up towards your shoulders to get the weight of the wrist.
Be aware of that not all students have the ability or the flexibility to flex the wrist at in a 90-degree angle. Often you can determine if it is ability or flexibility by seeing where the sensations occur.
- If there is pain on the top side of the wrist, it is likely that bone is hitting bone and then you need to prop them up in poses like all four or plank, so that there is less of an angle. Use a wedge under the hands or fold the mat to heighten the area of the hand that is close to the wrist.
- If the student has pain on the underneath part of the wrist, it may be due to stiffness. If this is the case, they need to slowly start to lengthen and stretch that area.
Always ask them to consult a physician or doctor before you give advice.
Poses to avoid
Any weight-bearing poses on the hands
Summary
If you have inflammation in your body, you need to rest before you start to rehabilitate. You need to bring back circulation, find stability, and strengthen the areas that protect the place of injury.
When to stop
A good way to know if you have done too much after being injured is that you have a sensation from the injury and it increases as you are exercising—this is okay as long as it next day goes back to how it felt before the exercise. So, if on the following day after resting, you have more pain then before it meant you did too much. On the other hand, if the sensation has returned to the same as it was before you started the exercise, you did enough without pushing too far.
BKS Iyengar once said that after being injured the only asana he could practice was Uttitha Trikonasana. He did that for a year, and he did that pose very well.
It is very discouraging to get an injury. If it happens through yoga, don’t be hard on yourself. Instead, learn from it. When we get an injury, it is very easy to stop practicing because we have habits and often practice what we like and can do.
Take this opportunity to learn more about yourself and the asana practice. Ask yourself, ‘What poses will support me in my healing?’ If you have wrist or shoulder issues, do standing poses, seated and laying down poses. If you have hamstring injuries, work with strengthening poses, standing poses and do more backbends that strengthen the hamstrings like Shalabasana and dhanurasana.
Don’t teach from your own injuries
Learn from your injuries but don’t teach from them. Students might not have the same issues as you do. Learn how to keep students safe in asanas using your words and to adjust according to the individual’s needs. Respect yourself and your students and always practice from your present state.
Featured
Our present state of mind
To be a beginner…
Happy Holiday part 2
Happy Holiday part 1
Gällande covid-19

Yogayamas historia
blogs
Our present state of mind
Our mat is our universe and our supportive energy. Our practice on it reflects how we act…
To be a beginner…
Thank you for taking the time to read and hopefully better understand your body, yourself and others.…
Happy Holiday part 1
In the Indian and yogic tradition you are suppose to rest when you have your menstruation. Why?…

Receipes
Några enkla kostråd för att hålla vata i balans under hösten
Ät och och drick varmt. Naturligt söta, sura och salta smaker är bra. Undvik råa grönsaker, knäckebröd…

Sött och gott
Raw cheesecake med hallon och granatäpple Botten: 1 dl valnötter, blötlagda 5 dadlar, urkärnade och blötlagda 1…

Yogayama’s bröd
En stor limpa: 3 dl grovt ekologiskt och biodynamiskt dinkelmjöl 1 dl havregryn, ekologiska 1 dl russin,…
Latest Videos

Carina Schütt
Carina har en bakgrund bestående av akademiska studier inom beteendevetenskap. Sedan hennes första möte med yoga ägde…
Workshops, Courses & Events


No Events Scheduled! .
No Events Scheduled! .
No Events Scheduled! .

No Events Scheduled! .
Get our free APP and book any class as easy as a clap


Select Event
Select Service